If you are using the Template provided by Pickleballbrackets.com to run a round robin tournament, here are the items you will need to adjust to personalize your tournament.
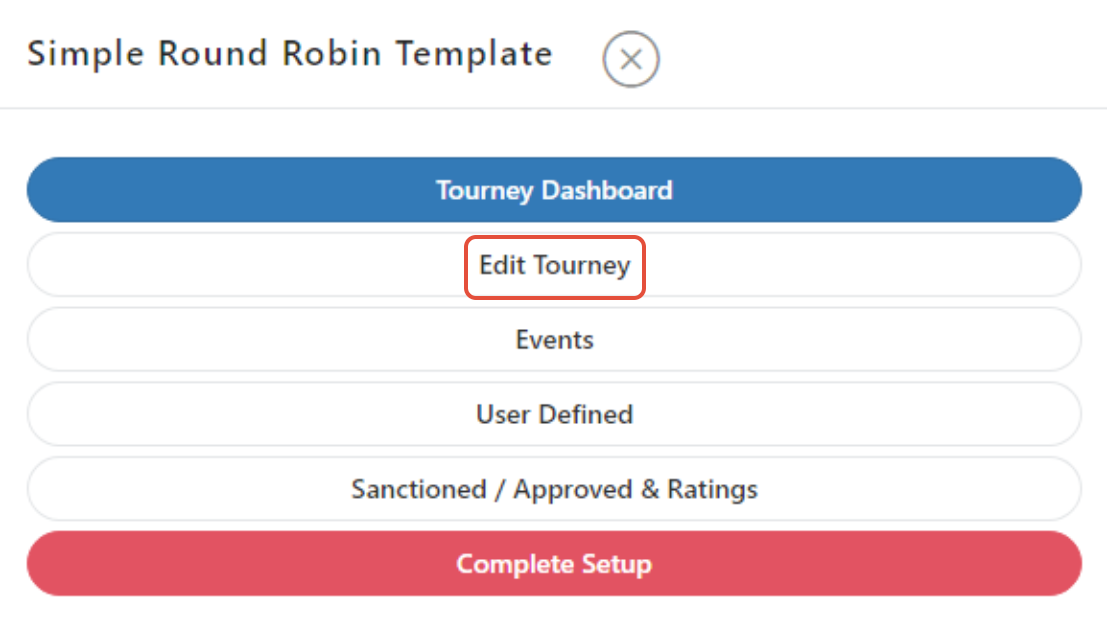
Your first step is to log into your account, and go to your "my stuff" option under your name in the upper right hand corner. You should see your tournament listed under the "Managing" tab. Select the tournament and then "Edit Tourney" from the menu (see below)
Scroll down until you come to the "Currency to Collect, Show Public Date and Title" sections. Be sure to input your local currency here. Pickleballbrackets will convert payments that come in to your listed currency.
Show Public Date is when the tournament will be listed on the Pickleballbrackets.com tournament site. If this is set in the future, players won't be able to find the tournament until that date/time.
Title is your tournament name. Change this to your desired title.

Scroll down to the Registration section next. "Use Online Registration" allows players to sign up for the tournament. Make sure to turn this on if you are using the software to register/manage the players and events.
Registration Dates from is when registration opens, to is when it closes. It is recommended you close registration 5-7 days before the tournament starts to give yourself time to verify brackets and create a schedule.
Age Limit Deadline is when the players age is pulled for the tournament. This is currently set by the last day of the year, so whatever age the player turns that year will be used. If you want their actual age during the tournament to be used, change this date to the last day of the tournament.

Use the Max Event Registrations section to determine how many events players can sign up for. If you want to keep them from signing up for more than 1 event per day, use the options already in place. If you want them to be able to sign up for multiple events in the same day, change the top option to unlimited.

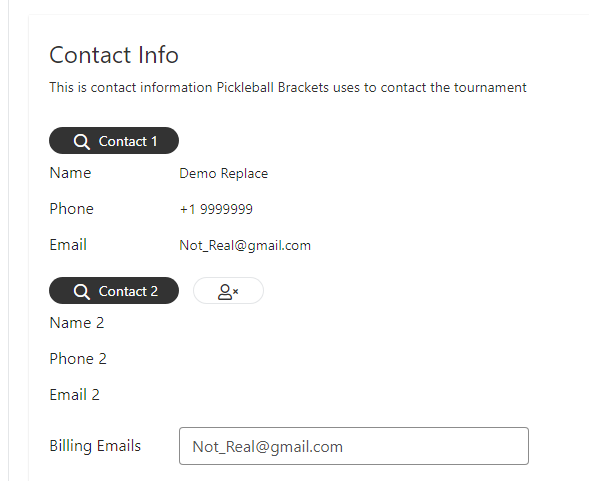
Make sure your information is listed in the Contact 1 space and the Billing email is correct for you to receive the invoice for the tournament once it is completed.
Scroll down to the Additional Info section to mark if any of these items are allowed at your tournament. This, and the text boxes below, will all be listed on your main tournament listing under your tournament Logo.

Once that info is added, use the Save and Proceed to Next section to access the Registration cost section.
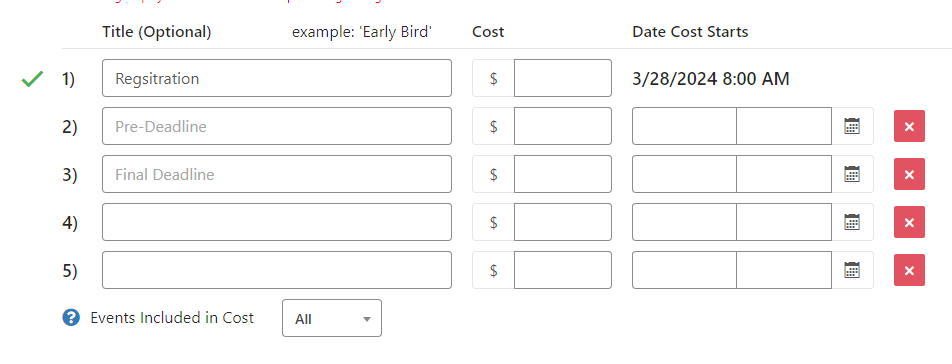
You have the ability to enter multiple different registration periods in the software. Only 1 can be active at a time, so use the "Date Cost Starts" section to the right if you want to offer different fees based on time of registration. If you have a set amount you want active the entire time, just enter than into #1 and your all set.
Events included in cost will cover your events under this registration amount. If you don't want any, or only 1 event covered by registration, change this here. When we create the events, there is a section we can add event costs that are in addition to what you list here.
Hit the "Save & Proceed" button.
Checkout options will be how you want players to pay for the tournament. We are currently partnered with PayPal and Stripe. If you added your PayPal or Stripe email in the checkout options when creating your Club, you will be able to just activate this here in the tournament. If you have not, you will see a message like the one in the example below.

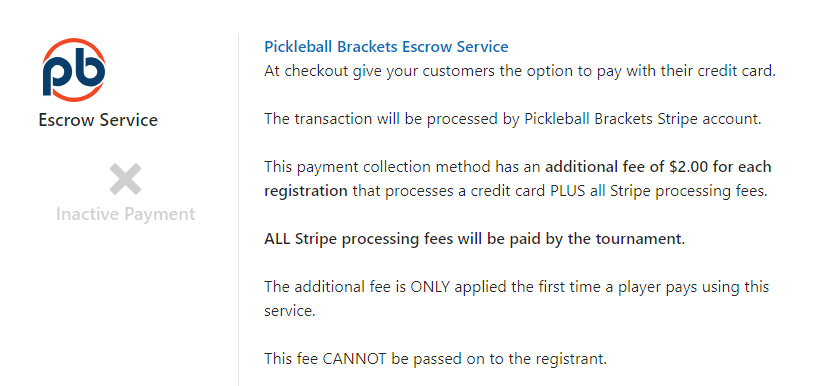
If you don't have a Stripe or PayPal account and want to use our Stripe account for a $2.00 per person fee. Fill out the required information and select activate at the bottom and your all set. It does take 4-6 week post tournament to receive your check, so keep this in mind when selecting this option.
You can activate the Onsite or Pay Later options. This will allow players to register immediately without making payment online. You will need to work out and record any payments manually in our software if you don't use an online payment option.
Once you have selected at least 1 payment option, "Save & Proceed Next."
You can upload a Logo that will be used as your main tournament listing photograph. If the image is smaller than the listed 600x315px the image will not load. If it is larger, you may need to use an resizing software to get the image to fit perfectly.
You can add a Waiver and Flyer to the tournament. In both cases the item needs to be in PDF form or it won't load. Waivers will show during a players payment screen and require the player to agree to it before they can make payment when paying online. The Flyer will show as a button on the main tournament listing that the player can download.
Once added, "Save & Proceed Next."

Discount Codes and Sponsors can be added to your tournament. See those tabs and fill out the information under the "add" buttons to add those items. Once you are done with each respective tab, "Save & Proceed Next."
Once you get to the Venues tab, review the information listed. This is the venue information you entered in your Club. Be sure this is the correct venue for the tournament.
You will see information about Print Spooler here. This is an advanced way of running tournaments that most of the APP/PPA and major events run, requiring players to come to the tournament desk before and after each match to pick up scoresheets. If you are not planning to run the tournament this way, you can skip that. If you do want to run everything through a central desk, please let us know and we can get you detailed information on how this works.
"Save & Proceed Next" once venue info is correct.
Amenities section allows you to add a partnered hotel or rental car facility. If you have a group you are partnered with, you can add that here to add a tab on your tournament listing. If not, you can skip this tab.
"Save & Proceed Next" once done in Amenities.
Managers tab allows you to add additional managers to the tournament. Select the "Add New" button to search for those you want added to manage the tournament.

Once added, you will be asked to choose what permissions they can have. Feel free to select the options you want them to access/not access, and then use the blue "save" button next to their name. Only 1 person can be a primary of the tournament.
Once you have added the managers and used the blue save next to their name, you can use the "Save & Proceed Next" button at the top.
Before you "complete setup," we need to review and make changes to the events. Use the black 3-line menu at the top of the page and select the "events" tab from the menu:
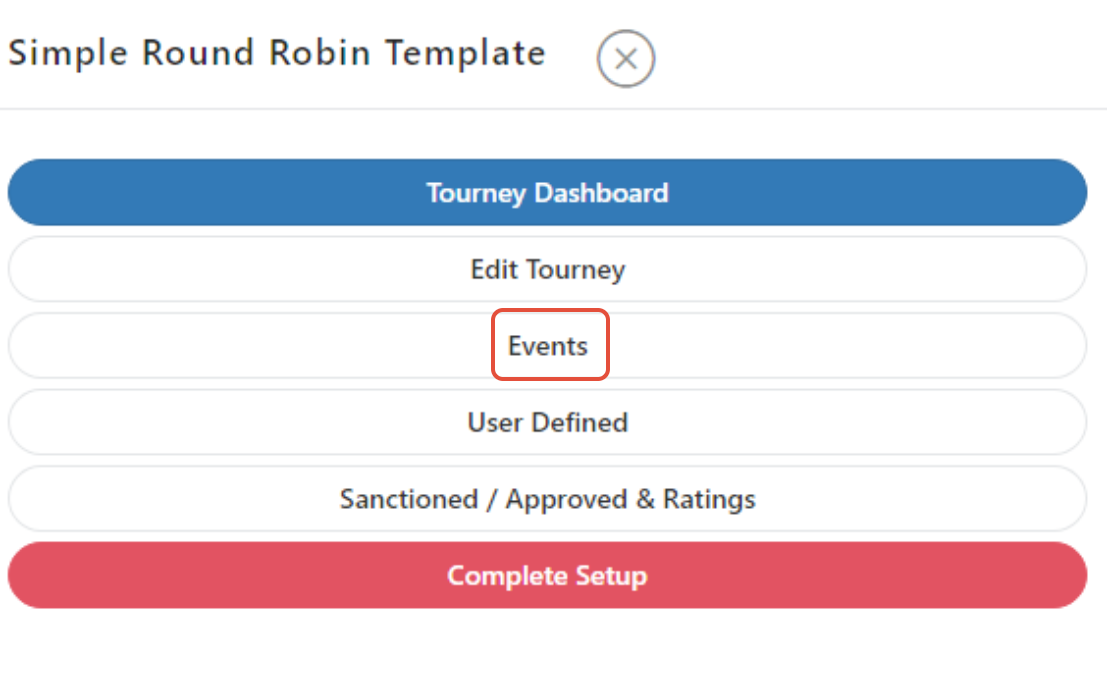
You will find 15 already created events. 5 Men's Doubles, 5 Women's Doubles, 5 Mixed Doubles events, each covering skill levels 3.0, 3.5,4.0,4.5 and 5.0 skill levels.
The first step we will take is changing the dates of the events, cost of the events, and deleting events we don't need. Click on the black "Edit List" button at the top of the screen.

Each event will now appear as below. Change your date first and if you have any maximums that you will allow in the event, add that to Max teams. If you decided you don't want to include any events in the registration, or maybe just 1 event, you will want to add event fees to the cost section. Do this for every event you wish to keep.
If you don't need this many skill levels, mark the "Delete" tab to yes and when you save, the event will be deleted.

Once done, use the little green save icon

Go back to your 3-line menu at the top, and select the "events" tab again to return to the original view. Now that you have your dates for events correct and the skill levels that you want, we can look to add additional ages into the system. If you don't want to add additional ages and just want 1 age per skill level, then you are done and can skip this part.
Go to the first event on your list and select the "edit event" pencil icon. Scroll all the way down to the bottom to the "included in Reg Cost" and "Event Cost" section. If you have elected to include ANY number of events in your registration, then ALL of your events need to be marked "Included in Reg Cost" in the event. If you chose to include 1 event, the software will make sure to make the adjustment if a players signs up for 2 events and only charge them for 1. If you DON'T mark the events included, then the system will charge them for the event no matter what you put in the Registration section for events included.

Once you verify this is correct, "Save".
Now to add ages to your events. If you want to add ages, go into each event separately and click on the "Manage Age Splits" tab.
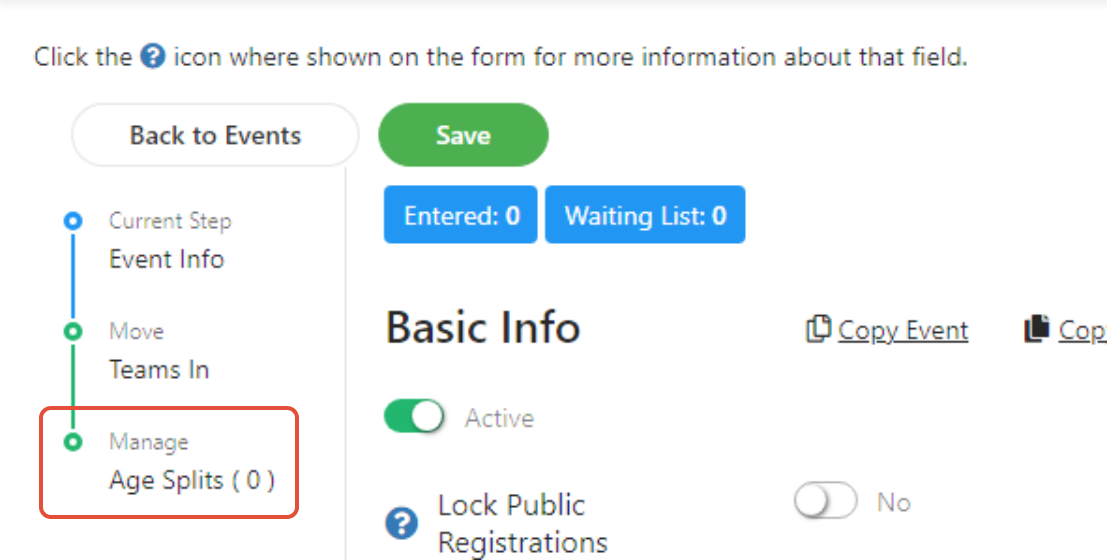
Click on the "Add New Split" tab to begin adding in your age groupings.
You will see that the "From" age is pulled from the basic info section. If you want to increase the "From" age, go back to the basic info and change/save this first. Separate your age groupings here, setting any Max Teams in the Max TMS section. If you want to allow older players to play down, make sure to mark that option or they won't be able to sign up for younger group. Once you are done adding the age groups, "Save Split Settings."

Now you have 2 options. You can either leave this event like this during registration, and when you view it you can come here to see who is signed up in what event age. Or, you can select the "Generate Events" tab and the software will separate this skill event into multiple skill/age events based on the information you entered here.
Either way, the event skill/ages will be available for the players to sign up in.
Once you have completed these steps for all events and saved, go back to your 3-line menu and select "Complete Setup." You will be directed to your Tournament Dashboard, which will allow you to pay for the $25.00 setup fee.
Your tournament is now listed and ready for registration. Please contact us if you have any questions.
Was this article helpful?
That’s Great!
Thank you for your feedback
Sorry! We couldn't be helpful
Thank you for your feedback
Feedback sent
We appreciate your effort and will try to fix the article